Free Tap and HoldImage Generator
Turn one picture into a hidden PNG8 reveal, or combine two pictures into one tap and hold image. Preview the exact file on light and dark backgrounds before you post it to X.
Tap and hold image studio
Images stay on this device
Build your image
Hide one image until the hold
01 · Original image
Upload one tap and hold image
02 · Live proof
Press the image to reveal
Original examples
One file, two moments
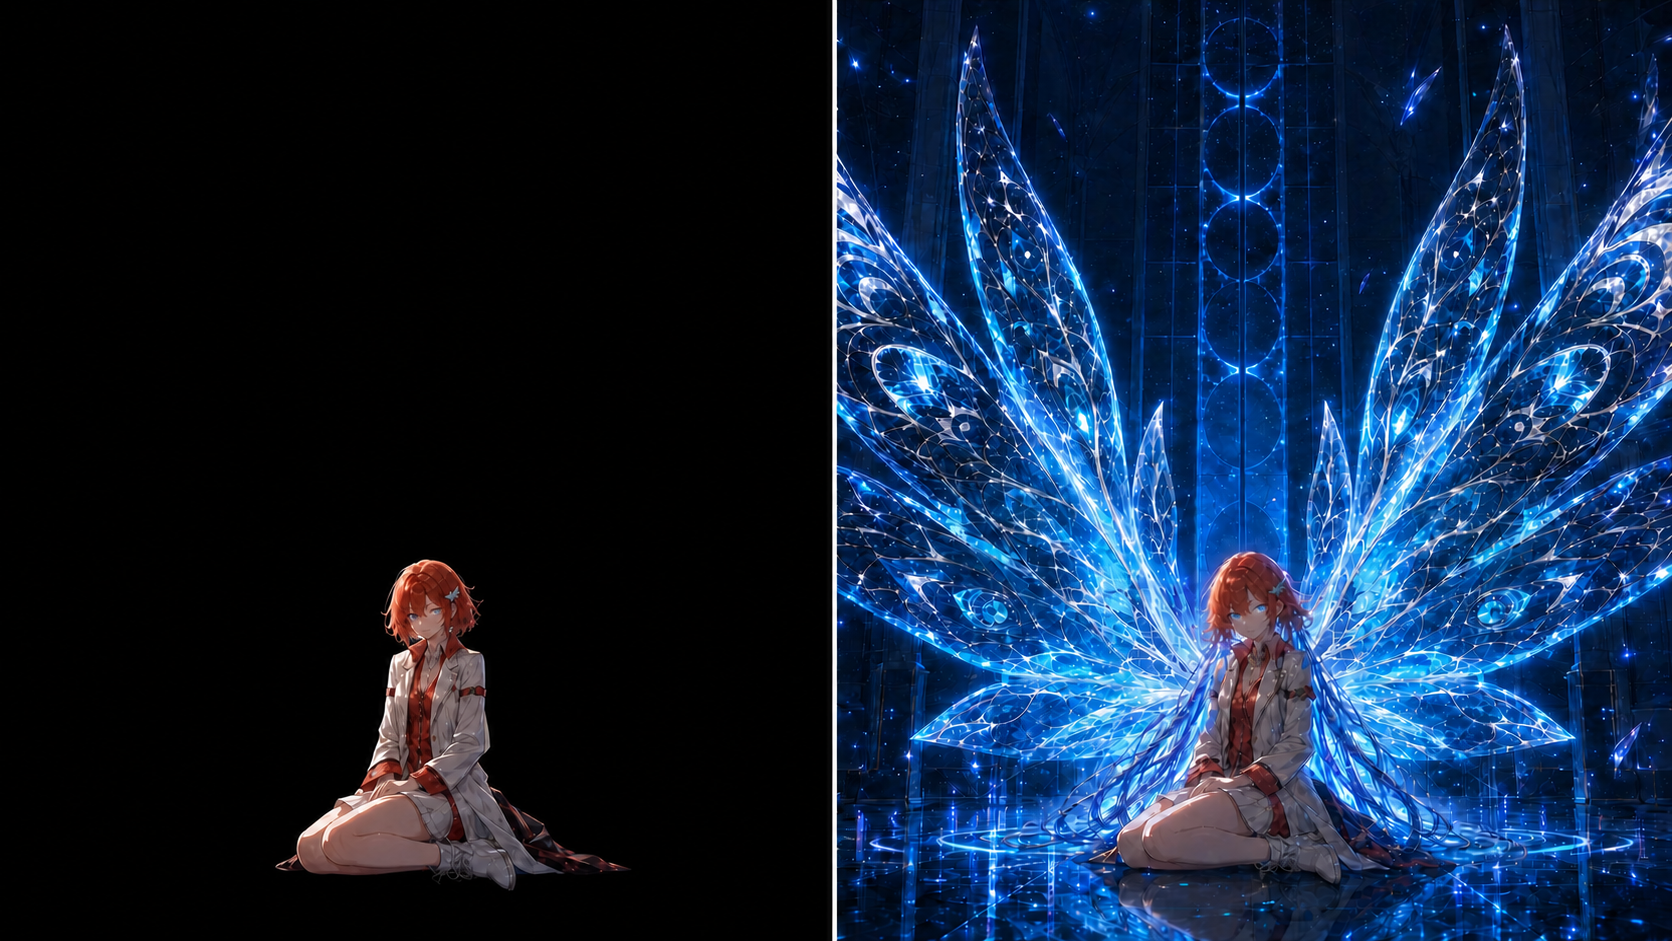
The strongest reveals keep a shared subject or composition, then change one meaningful detail. Press each original demo to compare its light and dark states before you decide how to pair your own pictures.
Day to night
Setup to punchline
Three practical steps
How to make a tap and hold image
The effect comes from the PNG itself, not from a filter, script, or special kind of post. Start with one picture for the checkerboard reveal, or choose two pictures for a true light-view and dark-view swap. Check both backgrounds before uploading the tap and hold image without flattening its transparency.
- 01
Choose one image or a pair
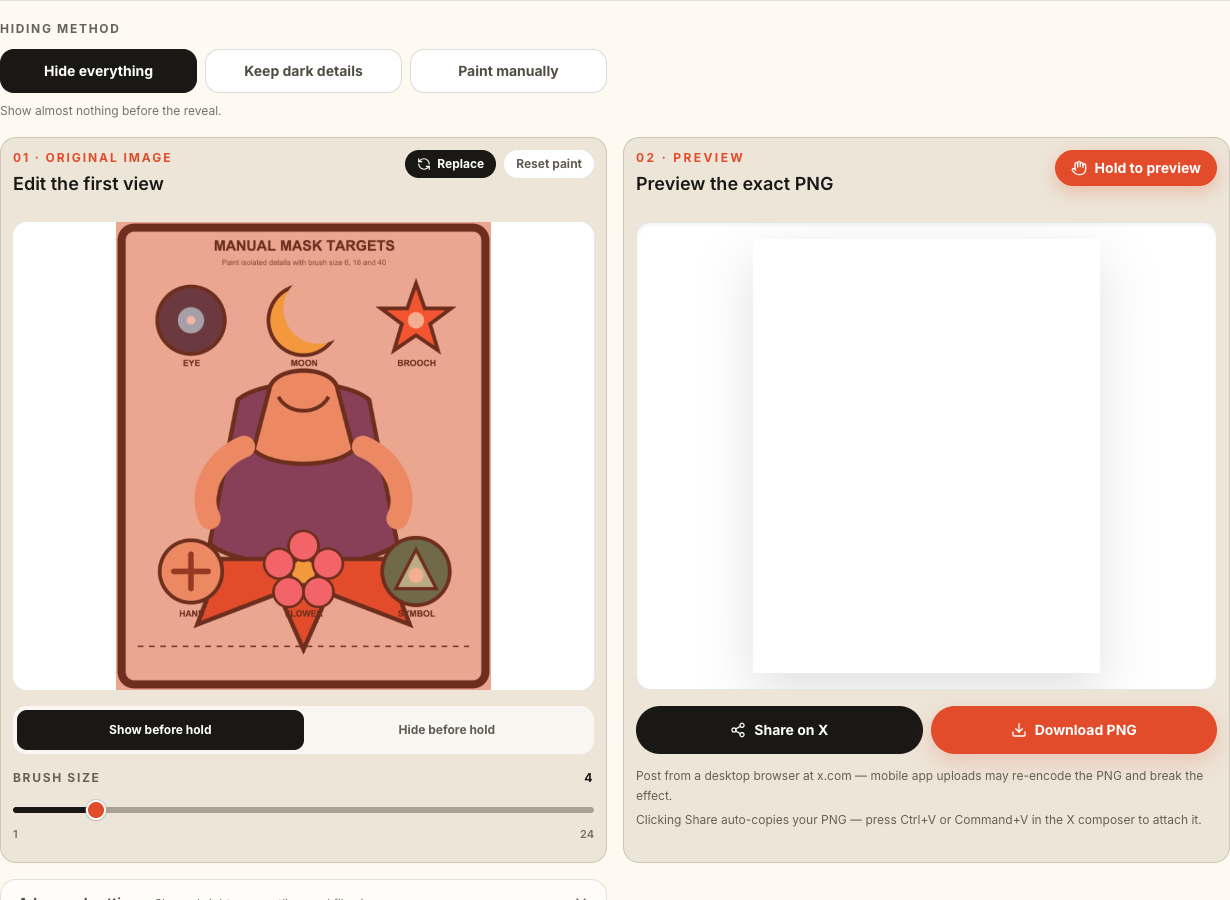
One-image mode hides alternating pixels and can leave dark details, automatic outlines, or manually painted areas visible in the timeline. Two-image mode uses a cover for the light background and a separate reveal for the dark viewer. PNG, JPEG, and WebP sources work in both modes.
- 02
Check light and dark
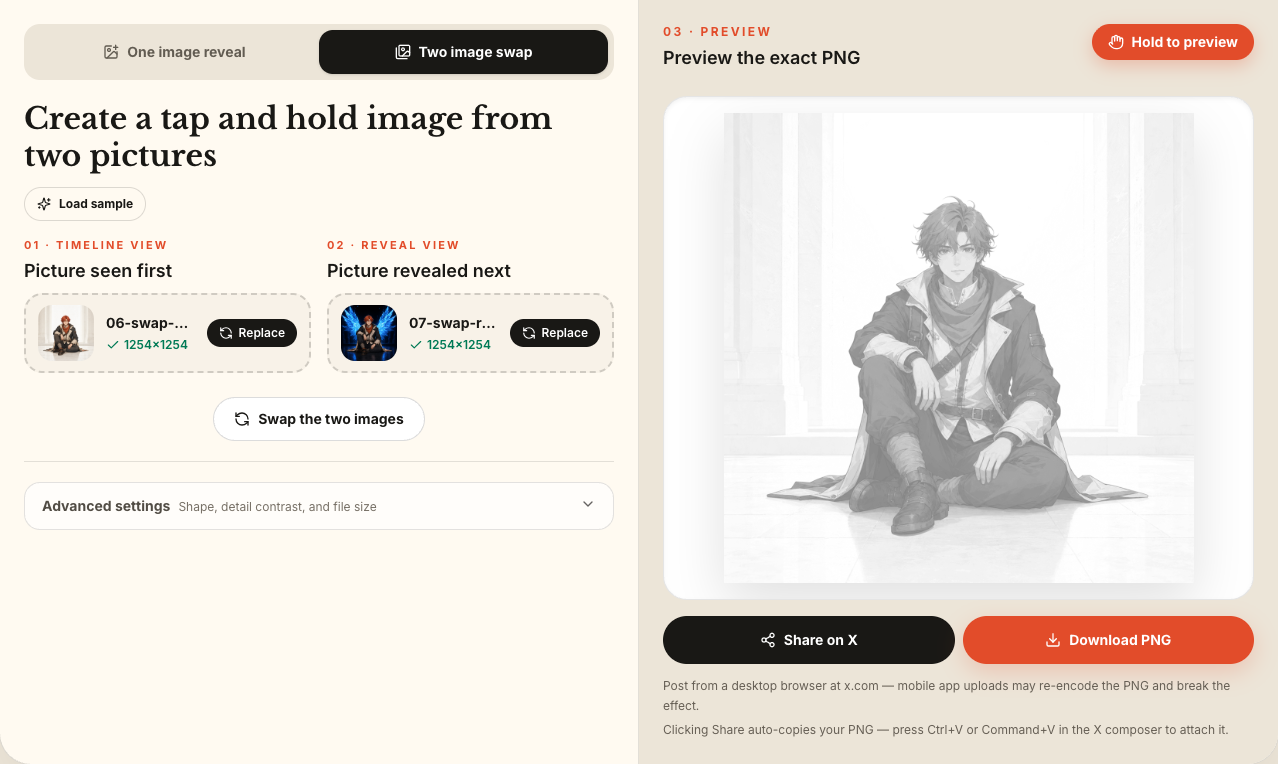
Press the live preview to switch backgrounds. Look at faces, lettering, and thin edges in both states. In one-image mode, adjust brightness, outlines, or the visible mask. In two-image mode, move the cover-to-reveal priority gradually. The preview uses the same tap and hold image that you download.
- 03
Download the PNG
Save the tap and hold image as a PNG and attach that exact file to your post. Do not paste it through an editor or messaging app that may convert it to JPEG. After uploading, open the post on the device your audience uses and confirm both views before sharing it widely.
The useful explanation
How one PNG creates two viewing states
In one-image mode, every other hidden pixel becomes fully transparent in a one-pixel checkerboard. X blends those tiny solid and transparent samples into the white timeline, where the picture looks washed out or disappears. Against the black full-screen viewer, the same grid regains contrast. The result is encoded as indexed PNG8 with a transparency palette so the grid survives processing.
Two-image mode solves a different alpha-compositing problem. Each transparent pixel contains one stored tone and one opacity value; white behind it contributes light, while black contributes none. The generator calculates those values so the first source is favored on white and the second on black. Neither mode contains animation or executable code, and JPEG breaks both because it removes transparency.
The light-background view
In one-image mode, the transparent checkerboard is averaged into the white timeline and most color fades toward white; selected dark details can remain opaque. In two-image mode, the cover is mapped into the brighter half of the tonal range. Bold shapes and a clean focal point remain easiest to understand.
The dark-background view
The black viewer fills transparent checkerboard pixels with black, restoring color and contrast in a one-image reveal. In two-image mode, the hidden source uses the darker tonal band and becomes legible when the white contribution disappears. Bright edges usually create the clearest surprise.
Why two-image mode is grayscale
One-image mode preserves color because it alternates original-color pixels with fully transparent pixels. Two arbitrary full-color images, however, cannot usually share one opacity value per pixel and reconstruct correctly over both white and black. The two-image mode therefore uses controlled grayscale bands for a predictable swap.
Better source material
How to choose images that reveal clearly
The generator can combine almost any two pictures, but not every pair will communicate well at timeline size. Spend more time on the pairing than on the slider. These four checks usually make a bigger difference than adding more detail.
01
Match the main silhouette
Place the main subject in roughly the same area in both images. A face over a face, a character over the same pose, or a logo over a similarly sized symbol creates a deliberate transformation. Unrelated focal points in opposite corners feel like visual noise when the background changes.
02
Use one shared crop
Both sources are cropped to the selected output shape. Preview square, portrait, and wide formats before downloading, and keep important details away from the outer edge. Portrait is useful for character art; square is dependable in mixed feeds; wide works best when both sources were composed horizontally.
03
Prefer clean tonal separation
Clear dark outlines in the cover and bright highlights in the reveal survive the conversion well. Low-contrast fog, skin texture, tiny gradients, and busy photographic backgrounds can merge together. If the subject is hard to recognize at thumbnail size before conversion, simplify or crop it first.
04
Judge it at phone size
Most people meet the image in a narrow feed, not on a desktop canvas. Step back from the preview or shrink the browser window. The cover should still look intentional without the reveal, and the hidden state should become understandable within a second after the background changes.
Before you publish
How to post the PNG on X
The file must keep its transparency from download to display. Attach the PNG directly from your files or photo library. If an editor, social scheduler, clipboard, or chat app exports a flattened copy, the image may still look normal but the reveal information is already gone.
X changes its image viewer across app versions, devices, and themes. Treat your own uploaded tap and hold image as the final test. Open it full screen and use the original or high-quality view when the app offers one. Add a short instruction such as “tap and hold” or “長押しで変化” so viewers know there is another state to find.
- 1
Download the result with the .png extension. If your device shows .jpg or .jpeg, return to the generator and download again.
- 2
Upload the PNG as a new attachment. Avoid screenshotting it, copying it through the clipboard, or opening and re-exporting it in an app that does not preserve transparency.
- 3
Wait for the upload to finish before sending the post. Open the attached image and inspect the light timeline state for accidental hidden details.
- 4
Open the same image full screen. On devices that expose an original or high-quality image action, use it, then confirm that the dark-background state reveals the second picture.
- 5
Test once in the current iOS or Android X app and once on the web if both matter to your audience. Viewer behavior can differ, so the caption should still make sense if a device shows only one state.
Fast diagnosis
When the image does not change
Start with the downloaded tap and hold image in the preview above. If both states work here, the PNG is valid and the problem happened during upload or display. If one state is weak here, change the hiding method, brightness, mask, source pairing, or priority before testing X again.
01The hidden image is visible too early
For one image, use Hide everything or lower the dark-detail threshold so fewer pixels remain opaque. For two images, the reveal may contain large bright areas that read too early; choose a darker reveal, align it with the cover, or move priority toward the cover. Small traces can be normal.
02Holding opens a menu but nothing changes
The gesture and the visual change are separate. Some versions of X use a long press for a menu, while the background change occurs when the image opens full screen or loads its original version. Open the image first, then try the original or high-quality action if your app provides it.
03The post shows only one flat image
Check the file extension and transparency. A screenshot or JPEG conversion permanently removes the alpha channel. Download the PNG again and upload it directly. You can also open the local file over both white and black backgrounds to prove whether the conversion happened before or after posting.
04Fine lines disappear
Turn on Auto line art for a one-image reveal, paint the important line manually, or thicken it in the source. In two-image mode, move priority toward the state that lost detail. Avoid essential information in hairline text; large shapes and high-contrast edges remain the most reliable.
05The PNG is too large to upload
Detailed PNGs can exceed practical upload sizes. Keep High-quality upscale off, choose a smaller output preset, or begin with a smaller source when the download is too large. The displayed dimensions beside the download button are the real output size; judge sharpness in the live preview rather than by the original file dimensions.
Ways to use the reveal
Ideas that reward the hold
A successful image gives the first state a job and the second state a payoff. The reveal should add meaning, not merely replace one random picture with another.
Sketch to finished art
Use the rough drawing as the light view and the finished silhouette, costume, or lighting pass as the dark reveal. Keep the pose aligned so the viewer reads it as a transformation rather than a cut.
Day to night
Pair the same scene under daylight and night lighting. Windows, stars, signs, and character eyes can become the bright details that appear against black while the landscape remains recognizable.
Before and after
Show restoration, styling, progress, or a changed expression in one frame. Match scale and camera angle, then let the background switch reveal exactly what changed.
Setup and punchline
Use the cover to ask a visual question and the hidden state to answer it. Keep any essential wording large and brief, because grayscale conversion and mobile display are unforgiving to small text.
Your pictures never leave the browser
Image decoding, pixel calculation, previewing, and PNG export all happen on this device with the browser canvas. The generator does not send source images or the finished file to a server. Closing the tab removes the working images from the page, so download the result before you leave.
- No image upload to our server
- No account or email required
- No cloud copy of your result
Tap and hold image FAQ
Short answers to the questions that usually come up between making the file and seeing the reveal in a real post.
01Is the tap and hold image generator free?+
Yes. You can create and download transparent PNGs without an account, payment, credit limit, or watermark. The image work happens in your browser, so there is no server processing queue to unlock.
02Are my source images uploaded anywhere?+
No. The tool reads the selected files locally and performs the compositing in a browser canvas. It does not send the source pictures or generated PNG to an API. Your browser may still keep normal page data such as language preference, but not the images used by this generator.
03Which source and download formats are supported?+
You can choose PNG, JPEG, or WebP source images up to 20 MB each. The download is an indexed PNG8 with palette transparency, which preserves the checkerboard or the calculated two-image alpha values. SVG is not accepted, and converting the result to JPEG removes the effect.
04How do I view the effect on iPhone?+
Open the post in the current X app, open the image full screen, and press or hold as prompted by the post. If the app offers an original or high-quality image action, use it. The exact menu and gesture can change between app versions, so test your own post before publishing.
05Does a tap and hold image work on Android?+
The PNG itself works on any device that preserves transparency, but the way X presents its light and dark backgrounds can differ on Android versions and themes. Open the image full screen and look for an original or high-quality option when available. Always check the device that matters to your audience.
06Why is the two-image result grayscale?+
The one-image mode preserves the original colors. The two-image mode is grayscale because two full-color images cannot usually share one alpha value per pixel and reconstruct correctly over both white and black. Controlled grayscale ranges make that calculation reliable.
07Will the generator reduce image quality?+
The selected shape crops both sources and the tonal conversion changes their appearance by design. High-quality upscale uses a preset up to 2432 pixels on its long side. Leave it off, choose a smaller preset, or use a smaller source when you need a lighter PNG.
08Can I use any image I find online?+
Use pictures you created, pictures you have permission to reuse, or material covered by a license that permits your intended use. A popular public post is not automatically free to republish. The built-in samples and visual demos here are original and safe to experiment with.